Bedwetting accidents can happen to anyone, whether it’s a child or an adult. When it occurs, it’s essential to know how to properly dry your mattress to prevent any lasting damage.
In this blog post, we will discuss quick steps on how to dry a mattress after bedwetting to ensure your mattress remain clean and odor-free.
Immediate Actions to Take Following Bedwetting
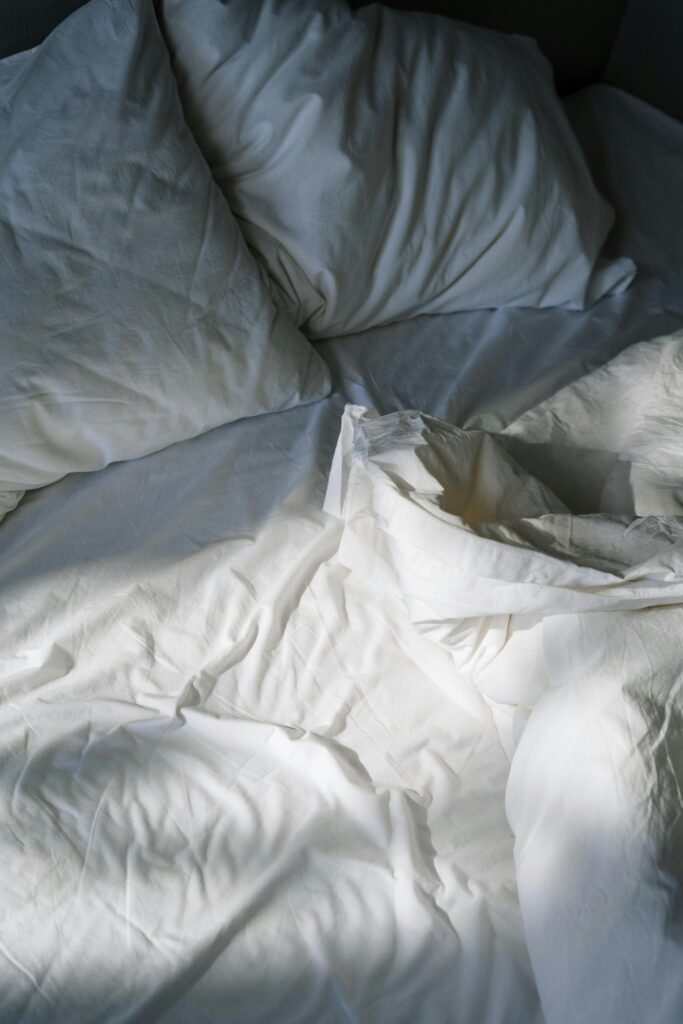
Upon noticing a bedwetting incident, your prompt response is crucial. Strip the mattress of all bedding and linens immediately to prevent the moisture from soaking deeper into the mattress.
Use a clean, absorbent towel to gently blot the wet area, focusing on removing as much of the liquid as possible. It’s important to dab gently rather than rub, as vigorous movements can further embed the moisture into the mattress fibers.
This initial step is vital in mitigating the extent of the wetness and setting the stage for a thorough cleaning and drying process that follows. Proceeding quickly and efficiently at this stage can significantly impact the effectiveness of the drying process, ensuring your mattress is on the path to recovery without delay.
Using Natural Solutions for Deeper Cleaning
After effectively blotting away as much liquid as you can, the next step in ensuring your mattress is thoroughly cleaned is to utilize a homemade natural cleaner. A simple yet powerful solution can be created by combining equal parts of water and vinegar.
This mixture is not only excellent for breaking down stains but also acts as a natural deodorizer, tackling any potential odors that might arise from the accident. To apply, fill a spray bottle with your vinegar and water solution and lightly spray it over the wet area of your mattress.
Be careful not to over-saturate, as this could prolong the drying process. After spraying, allow the solution to penetrate the stain for a few minutes. This brief waiting period helps in loosening any residues and neutralizing odors. Following this, take a fresh, dry towel and press it into the mattress to blot up the cleaning solution.
The goal here is to remove as much moisture as you can, which will aid in both cleaning and speeding up the drying time of your mattress. This step is crucial in ensuring that your mattress not only dries but does so in a way that minimizes the risk of any lingering smells or stains, setting a clean foundation for the subsequent drying and deodorizing steps.
The Role of Baking Soda in Drying and Deodorizing
Making use of baking soda is an effective and eco-friendly approach to addressing the aftermath of a bedwetting incident. After you’ve applied the cleaning solution and blotted out as much moisture as possible, distribute a liberal amount of baking soda over the damp area. This versatile household item is excellent for absorbing moisture, making it a key player in the drying phase.
Additionally, baking soda’s natural odor-neutralizing properties make it invaluable for eliminating any unpleasant smells that might linger after the initial cleaning. Allow the baking soda to rest on the surface for several hours, or even better, let it sit overnight to maximize its absorbency and deodorizing effect.
Once the baking soda has had sufficient time to draw out the remaining moisture and odors, vacuum it thoroughly to remove all traces.
Accelerating the Drying Process with a Fan or Hairdryer
For those looking to speed up the mattress drying time, Make use of a fan or a hairdryer presents an efficient solution. When opting for a fan, position it strategically so that it directs airflow across the damp area of the mattress. This method enhances air circulation around the moisture-laden spots, significantly reducing drying time.
The effectiveness of this approach can be further improved by ensuring the room is well-ventilated, which facilitates the evaporation of moisture.
Alternatively, a hairdryer can be used for more targeted drying. It is critical, however, to select a cool or low heat setting to prevent any heat damage to the mattress materials. Keep the hairdryer at a safe distance from the mattress surface to distribute the air evenly without concentrating excessive heat in one area.
This technique is particularly useful for focusing on spots that remain damp after the initial drying efforts.
Regardless of the method chosen, patience is key. It’s essential to allow sufficient time for the mattress to dry thoroughly, avoiding the temptation to rush the process.
Hastily replacing bedding on a mattress that is not completely dry can lead to issues such as mold or mildew, undermining the initial cleaning efforts. Taking the time to ensure a comprehensive drying process will safeguard the longevity and hygiene of your mattress, making it a crucial step in the cleaning protocol.
Preventative Measures to Protect Your Mattress
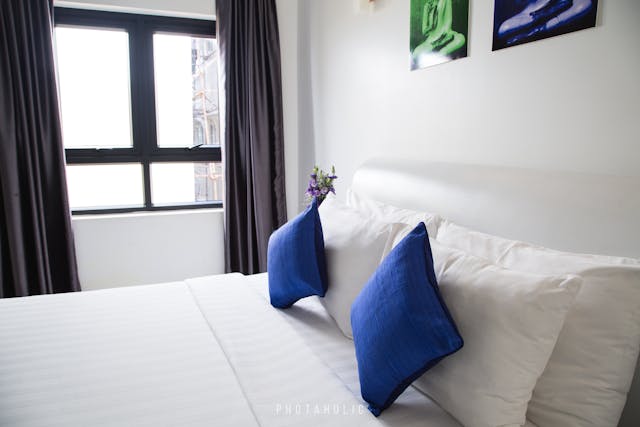
To minimize the impact of future bedwetting incidents, incorporating protective strategies for your mattress is wise. A key measure is investing in a high-quality waterproof mattress protector. This layer acts as a barrier, effectively safeguarding your mattress against moisture and potential stains, thereby simplifying any necessary clean-up efforts.
In addition to this protective measure, maintaining your mattress through regular care practices can significantly contribute to its longevity and health.
Flipping and rotating it periodically ensures even wear and discourages the accumulation of dampness, which can be particularly beneficial in preventing the growth of mold or mildew over time.
By adopting these preventative tactics, you can help ensure your mattress remains in optimal condition, offering peace of mind and a clean, comfortable sleeping environment.

0 Comments